What is Sgraffito? Pottery History, Technique & Designs
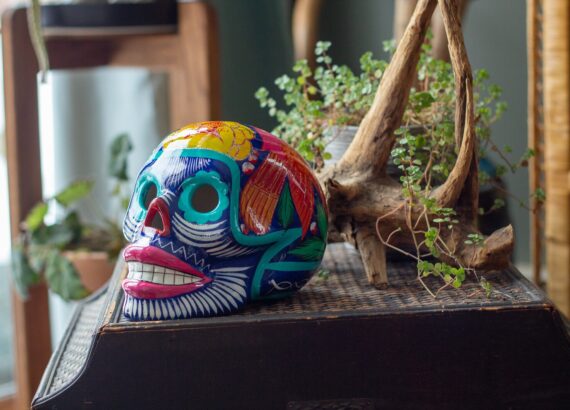
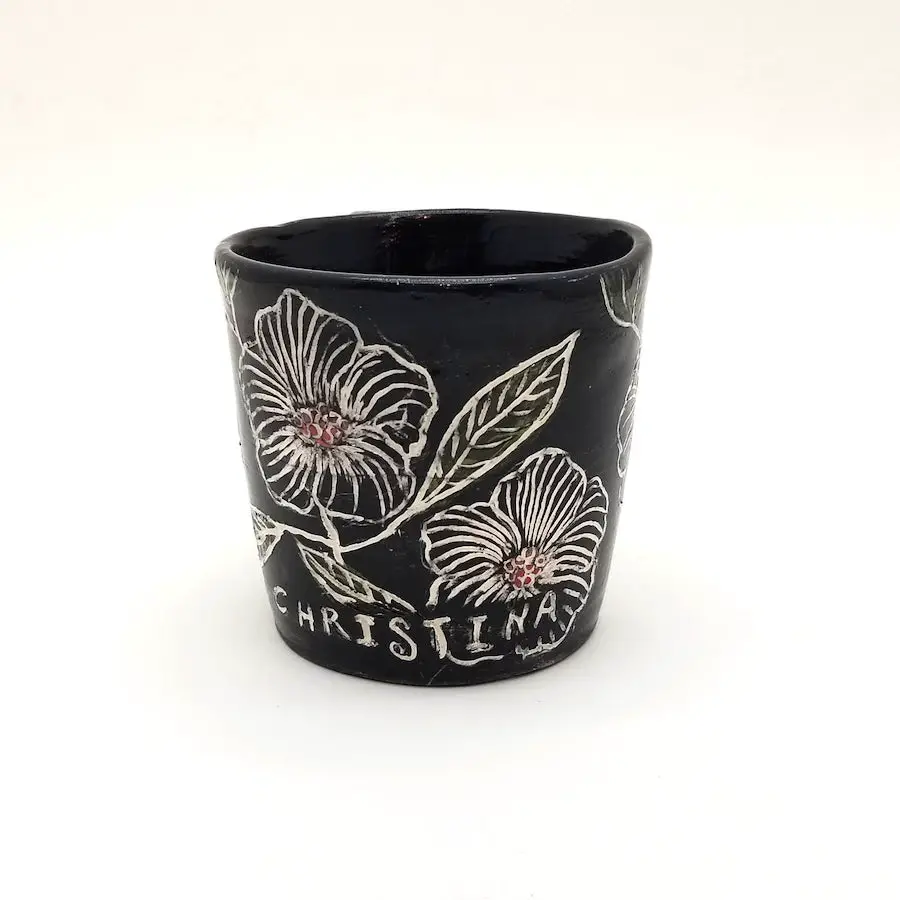
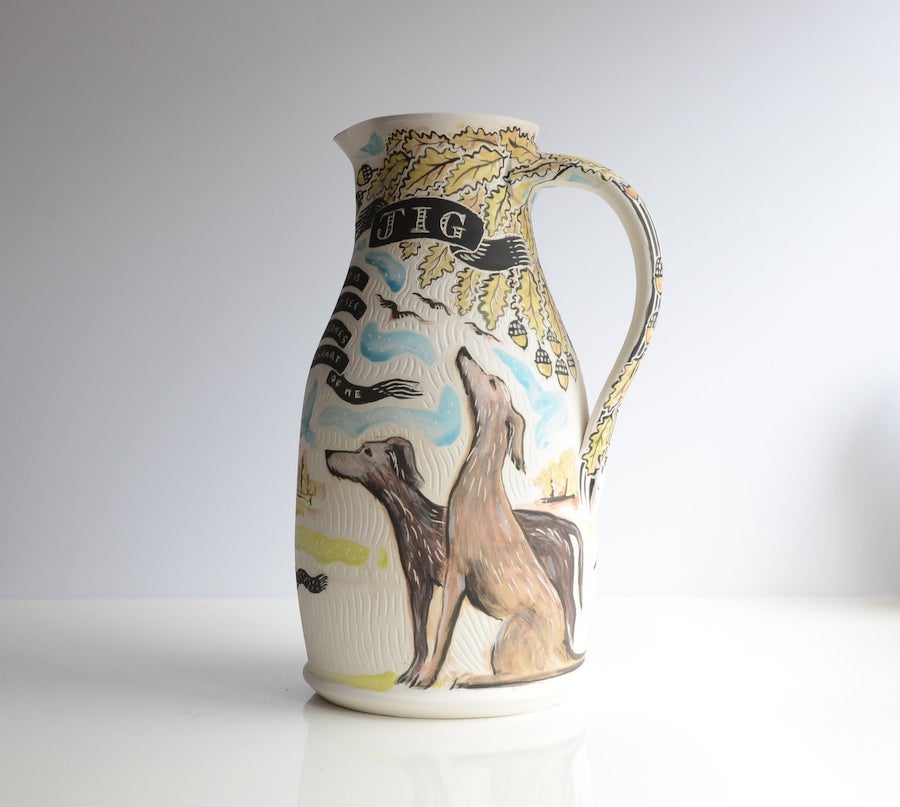
Sgraffito is an Italian word that means “to scratch.” It is a technique for decorating pottery that involves applying layers of color or colors (underglazes or colored slips) to leather hard pottery and then scratching off parts of the layer(s) to reveal the clay color underneath and create contrasting images, patterns, and texture.
Sgraffito is a name for a ceramic decorating method that includes applying a coat of colored slip to a leather-hard vessel and then carving through the slip to reveal the clay color underneath. All that is required is that you select a slip color that is sufficiently different from the clay body in color to ensure that the contrast is evident when the pot is glazed and fired.
Table of Contents
Sgraffito Pottery History
Sgraffito has been employed on walls in Europe from ancient times, and it was popularized in Italy in the 15th and 16th centuries. It is also seen in African art. These methods, when combined with decorative ornamentation, provided an alternative to the often-used wall painting.
Sgraffito’s roots may be traced back to the Italian Renaissance when it was widely used on the exteriors of buildings and palace facades. Sgraffito became popular in art and architecture during the Northern Renaissance, notably in Germany, after its debut in Southern Europe. In areas like Florence and Bavaria, sgraffito may still be found.
Sgraffito was first used in Catalonia by the Noucentista neo-classical architects in the early twentieth century, and it quickly became a popular façade decoration method.
It also made its way to the Middle East, where it gained a lot of traction in Iran. It was popular in Iran’s Amol area, where sgraffito painters incorporated intricate representations of birds and other creatures in their works. As you can see, it is not a craft invented by a picture framer, but it was widely embraced by frame manufacturers as early as the Italian Renaissance.
Sgraffito Pottery Technique. Sgraffito Pottery Tools
This technique looks at sgraffito with underglaze.
Step 1: The Pottery Making!
The first stage is to create your pottery, which may be done in any way you choose. It might be a cup, a mug, a vase, or a tile. You have the option of building by hand or using a spinning wheel. You may also roll out and shape your tile if you’re building one. Regardless of the method you select, use a rib tool to clean up the surface.
Step 2: Achieving Leatherhard Clay
Leather hard clay is simply clay that has dried out a little but still retains some moisture. It is less prone to shatter than bone dry clay since it retains moisture and is still quite robust. You may still carve into it or cut it, even when it is no longer usable.
Step 3: Applying The Underglaze
Apply your underglaze after your clay has reached leather hardness. I prefer to use a mop brush because it allows me to apply a large amount of product quickly. Mayco underglaze is a fantastic product. This may be done in any way you choose. Underglaze can be applied in a variety of techniques, including painting, dipping, spraying, and pouring.
Another thing to remember when using underglaze is that you may overlay colors. You may then adjust the pressure you apply when scratching through the underglaze. You may cut through to a lower layer of underglaze by softly incising, revealing a distinct color.
Step 4: The Sgraffito Design
It is preferable to sketch out the design on a piece of paper for a better understanding of the design before it is carved on the pottery. This paper design can then be used as a guide. A tracing paper can also be utilized in the case of complicated drawings.
Then, you may bring your tracing paper up to the pottery, and trace around the design. You may make an indentation in the clay by pressing firmly around the pattern with a pencil. It will be simpler to leave an outline on the clay if you trace straight onto it. When you apply the underglaze on top, however, you will lose some of the design detail.
Step 5: Tool selection
To carve on your clay, you may basically use anything sharp that you want. Furthermore, the sgraffito tool that potters prefer is extremely unique.
Some Sgraffito pottery tools include:
- Mini ribbon tools
- Clean up tools
- Stylus tool
- A needle tool
- Mop brush
Step 6: Carving the Sgraffito
Begin by tracing the shape of my design on a piece of paper. This is done by pushing the instrument into the underglaze and scraping it away to reveal the clay beneath. Dust off the loose particles of underglaze and clay that will come up with a soft brush. After you’ve made the outline, scratch out the remainder of your design as you like.
Step 7: Final touches
You may touch up any little spots of underglaze that have been damaged once you’ve done your pattern. Allow your item to dry completely before bisque firing it. You can touch up any underglaze that needs a boost after the bisque fire once more. Then, before glaze firing, add a transparent glaze.
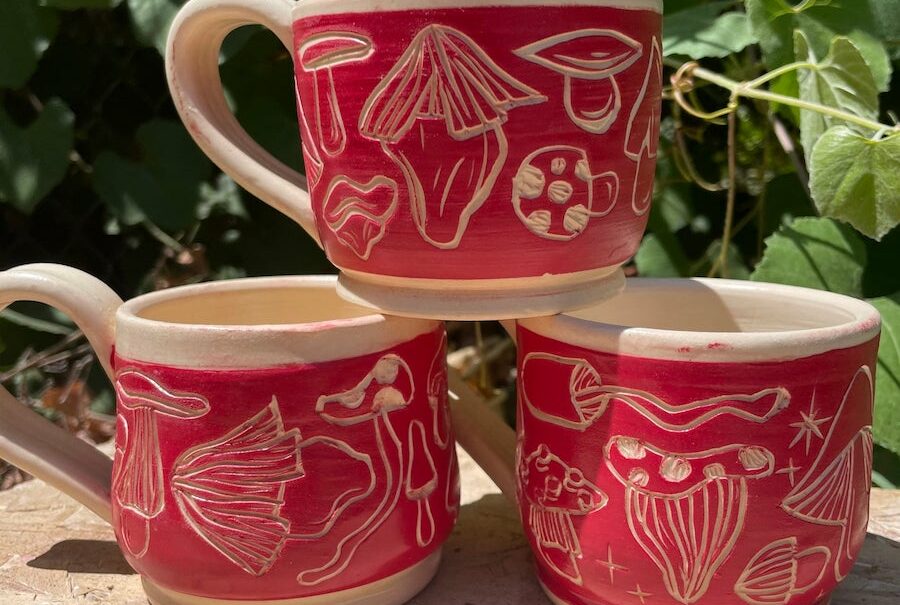
Sgraffito Pottery Designs and Patterns
You can start your design by scratching an outline if you’re feeling bold or if you’re good at sketching. However, once the line is drawn, it is permanent. As a result, you might wish to start by sketching your pattern with a pencil on the underglaze.
Scoring parallel lines into the underglaze is a typical sgraffito method for creating shade. You may change the color’s tone by adjusting the spacing between the lines. In etched prints, this is also an old technique for changing shade and tone.
Sgraffito Pottery Artists
Some notable Sgraffito pottery artists include;
- Natalie Blake
- Amy Higgason
- Molly Cantor
- Becky and Steve Lloyd
- Judy Weeden
- Karen Newgard
Conclusion
Frames are another sort of object that Sgraffito pottery creates. The delivery of these frames to the collector might take up to two months; sgraffito cannot be rushed. Even after 30 years of doing this, we still get a thrill out of unwrapping one of these treasures. Every item is a true work of art.